Lift after flowering, not on a hard frost
The big summer-flowering gladioli — the Grandiflorus hybrids, the ones with the fat flower spikes in every colour going — are not reliably hardy in our winters. Left in cold, wet ground they sulk, rot, or slowly dwindle to nothing, and every spring a fresh bag from the garden centre quietly replaces the corms you already paid for. The fix is to lift them and store them dry, and late September into October is exactly the window.
The timing is tied to the plant, not the calendar. Once a gladiolus finishes flowering, its leaves keep working for another six weeks or so, pulling energy back down into the corm to fatten it for next year. So don’t cut a green plant down the day the last floret drops. Wait until the foliage starts to yellow — roughly six weeks after flowering — and lift then, before the first hard frost gets into the ground.
That last point matters. Unlike a dahlia, where you wait for the frost to blacken the top growth before you cut, a gladiolus corm sits shallow and is happiest lifted before a hard freeze reaches it. A light early frost that browns the leaf tips is a useful nudge; a deep freeze that turns the ground solid can reach the corm and burst its cells. If a real cold snap is forecast and your leaves are already fading, that’s your cue to get the fork out this weekend.
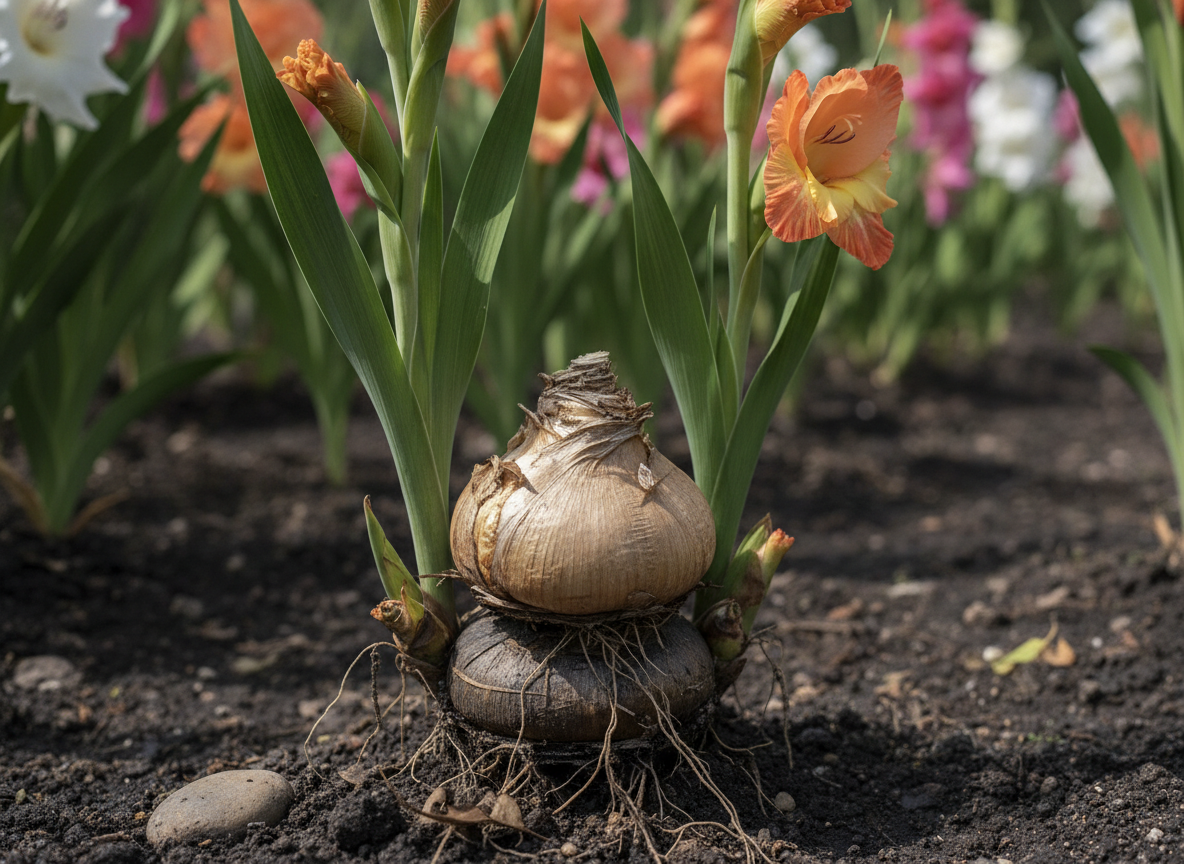 New gladiolus corm growing atop a planted one — AI-generated illustration
The corm you save grew on top of the one you planted
Here’s the part most people never notice, and it changes how you clean them. The corm you pushed into the soil last spring is not the corm you’re lifting now. That original one spent itself sending up the leaves and the flower spike, and it’s now a shrivelled, flat, papery disc at the bottom. Sitting directly on top of it is a brand-new, plump corm — the one that grew this season and the one you actually want to keep.
Clustered around the base of that new corm you’ll often find a scatter of tiny, bead-like cormlets — sometimes a dozen, sometimes fifty. These are the plant’s babies, and they’re how you build a stock for free if you’re patient (more on them below).
So a lifted gladiolus is really three things stacked together: a spent old corm underneath, this year’s fat new corm in the middle, and a handful of cormlets round the edge. The whole job of storing them well is separating those three — keeping the good one, saving the babies if you want them, and getting rid of the spent disc before it rots against next year’s corm.
Lift, cut short, and dry before you clean
Loosen the plant with a fork well outside the clump so you don’t spear the corm, and ease it up rather than hauling on the stem — a snapped stem often takes a chunk of the corm with it. Shake off the loose soil, but resist the urge to wash them. Water at this stage is the enemy: it soaks into the corm and invites the storage rots that turn a boxful to mush by January. The dirt brushes off easily once everything is dry.
Cut the foliage off to a short stub, about 1–2 cm above the corm. Then cure them: spread the corms in a single layer somewhere frost-free and airy — a shed bench, a greenhouse staging, a garage — and leave them for a couple of weeks. Curing firms up the skins, dries the last of the soil, and, crucially, lets the spent old corm dry back so it comes away cleanly instead of tearing.
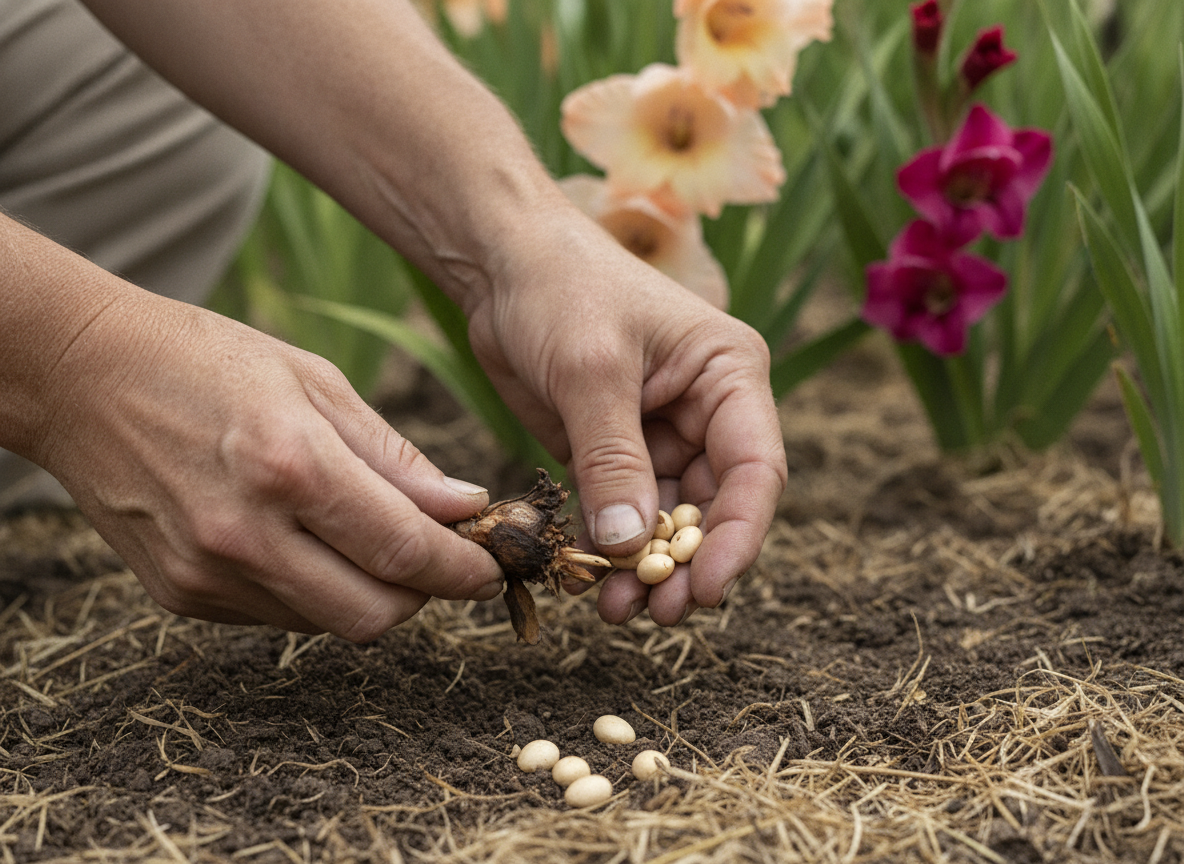 A person’s hands holding gladioli corms and cormlets above soil — AI-generated illustration
Twist off the old corm, save the cormlets
Once they’re properly dry, cleaning takes seconds per plant. Snap or twist the shrivelled old corm off the base of the new one — it should come away with a dry click — and rub off the old roots and any remaining soil. Peel off only the loosest, dirtiest husks; a papery tunic left in place actually protects the corm in store, so don’t scrub them naked.
Now decide about the cormlets. If you want more gladioli for nothing, twist off the little beads, store them alongside the big corms, and plant them out in a nursery row next spring. Be patient: cormlets need two or three seasons of growing on before they reach flowering size, so expect only grassy leaves for the first year or two. If you don’t want the bother, just rub them off and compost them — every one you leave attached is a place for rot to start.
Store cool and dry — and starve the thrips
Store the cleaned corms in a single layer in paper bags, mesh bags, old tights, or open trays — anything that breathes. Never sealed plastic, which traps moisture and rots them. Keep them somewhere dark, dry, frost-free and, importantly, cool: an unheated spare room, a cool cupboard, or a frost-free shed at around 5–10 °C is ideal. Look through them once a month and throw out any that have gone soft.
That cool store does a second job. Gladiolus thrips — the pest behind the silvery flecking and browning you may have seen on leaves and flowers this summer — overwinter on the stored corms and re-infest next year’s plants. Cold storage is the simplest control there is: held below about 10 °C, the thrips can’t survive the winter, so a proper cool store both keeps the corm sound and breaks the pest cycle for free. If this year’s flowers looked scorched and streaky, don’t store those corms warm.
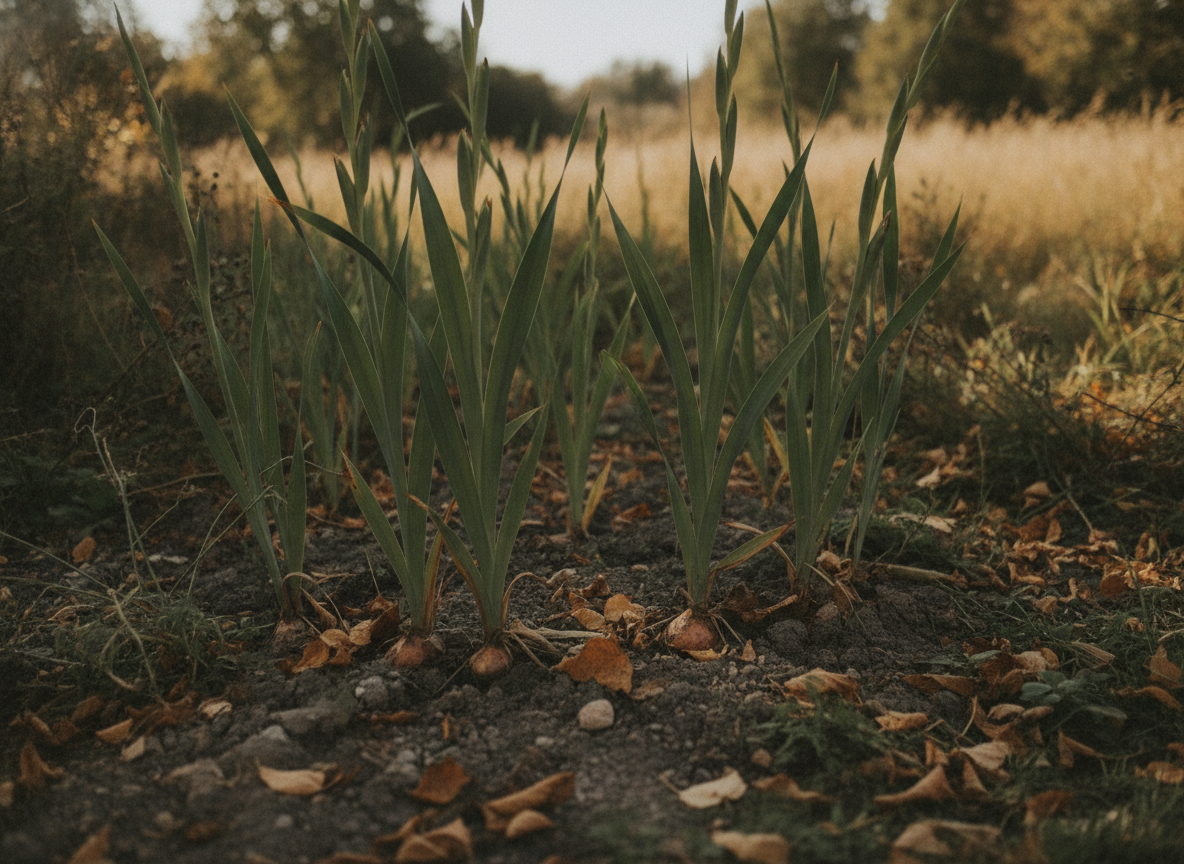 The photograph depicts gladioli bulbs in the ground surrounded by dry leaves and grass — AI-generated illustration
When you can leave them in the ground
Not every gladiolus needs digging up. The hardy species types — above all Gladiolus communis subsp. byzantinus, the magenta Byzantine gladiolus that flowers in early summer — are tough enough to stay put in most of our gardens, especially on free-draining soil, and left alone they bulk up into generous clumps. Give them a dry mulch over winter and leave the fork in the shed.
It’s the same judgement call that decides whether tender things generally get lifted before the frost or left with a thick mulch: drainage and cold, not bravery. And it cuts the other way too — some bulbs actively resent being disturbed and flower better the longer you leave them crowded. Knowing which is which is the whole game. If you’re on wet clay or in a cold inland spot, though, treat the big showy hybrids as lift-every-autumn plants and you’ll never lose a collection to a hard winter.
The one-line rule
Lift the big gladioli hybrids about six weeks after flowering as the leaves yellow, and before a hard frost; cut the tops to a stub, cure them dry for a fortnight, twist off the spent old corm, and store the plump new one cool, dry and airy over winter. The corm you keep is this year’s, not last year’s — save that, and you never buy gladioli again.
Not sure whether the corm in your border is a lift-it hybrid or a leave-it species — or when your own garden’s first hard frost is really coming? Cresco reads a photo, works out exactly what you’re growing, and tells you the job for this week in your own local weather, not a one-size-fits-all date.