Why medlars come off the tree hard
A medlar (Mespilus germanica) is the last fruit of the garden year. In November the tree is still hanging with russet-brown fruit the size of a golf ball, each with that wide open “eye” at the end, and they’re as hard as stones. That’s normal. In Britain and the Low Countries medlars almost never ripen properly on the tree. You pick them hard and let them finish indoors.
The timing is simple: pick once the leaves start to fall, in a dry spell, usually late October to mid-November. A light frost before picking does no harm and is often said to help them on their way. What you want to avoid is leaving them up through repeated hard frosts and wet weather, when they split, rot or get taken by blackbirds before you get to them.
A ripe-for-picking medlar comes away easily: lift it and twist, and the stalk should part from the spur without a fight. If you have to tug, give the tree another week.
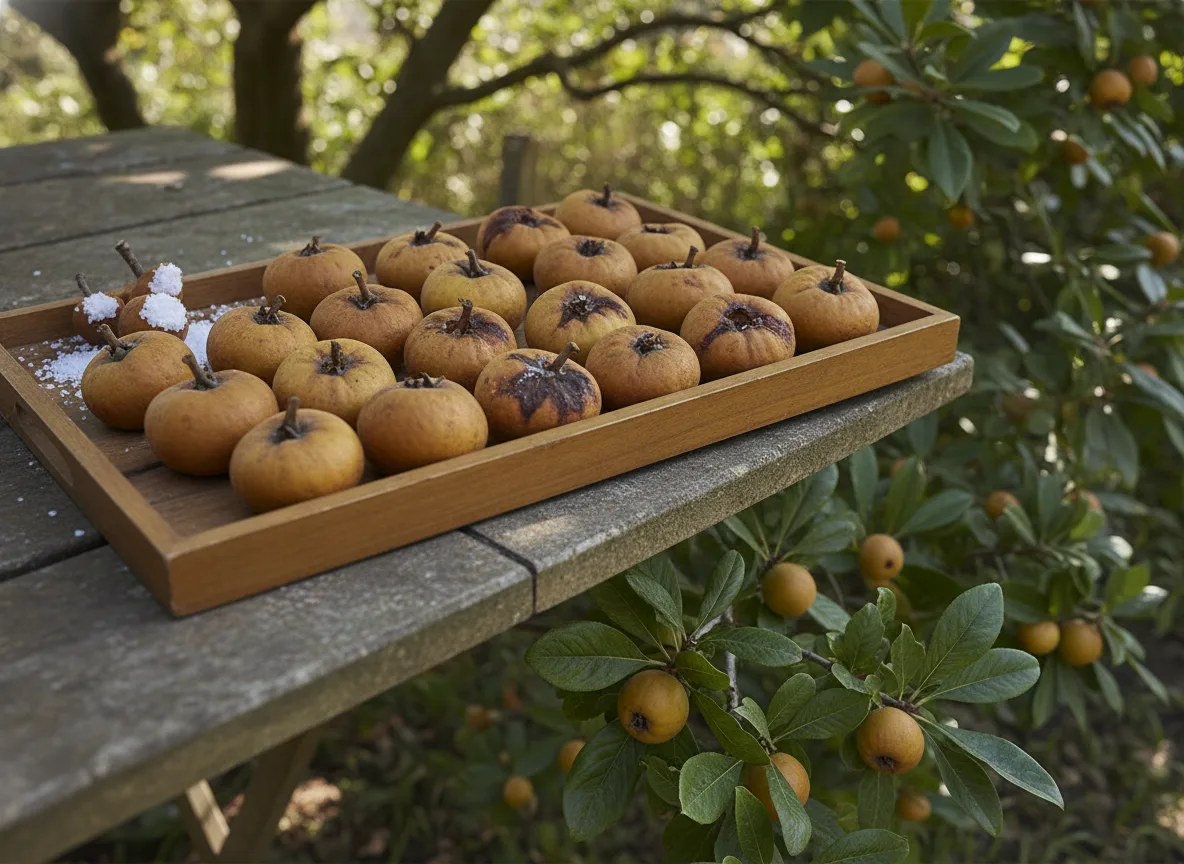 Medlars bletting on a tray with a salt dip, near a medlar plant — AI-generated illustration
Bletting: the step that makes them edible
Fresh off the tree a medlar is bitter and astringent. It only becomes worth eating after bletting, a ripening in storage where the flesh turns soft, brown and sweet, a bit like spiced apple purée or dates. It’s not rotting, even if it looks like it.
- Lay them out in a single layer, eye down, on a tray or in shallow boxes. Some people dip the stalk ends in salt water first to discourage mould.
- Keep them cool and airy: a shed, garage or cellar at a few degrees above freezing is ideal. A warm kitchen speeds things up but makes them go over faster.
- Check every few days. After two to three weeks the skin darkens and the fruit gives under your thumb. That’s ready. Use them fresh with a spoon, or make medlar jelly, which sets well and is the classic way to use a crop.
Pick out any that turn mouldy or leak; one bad fruit spoils its neighbours.
When to prune a medlar tree
Once the fruit is in and the leaves are down, the tree is dormant and you can prune. The window runs from late November to the end of February, the same as apples and pears, which are pruned in winter rather than autumn.
- Wait for leaf-fall. You need to see the framework, and a tree in leaf is still pulling sugars down into its roots.
- Choose a dry, mild day. Avoid hard frost, when wood can split around a cut, and long wet spells, when fungal spores spread easily.
- Finish before the buds swell. A medlar comes into leaf fairly early, and it flowers in May from those new shoots. Cut in spring and you’re removing next season’s flowers.
There’s no hurry within the window. Medlars don’t bleed sap like a birch or a mulberry.
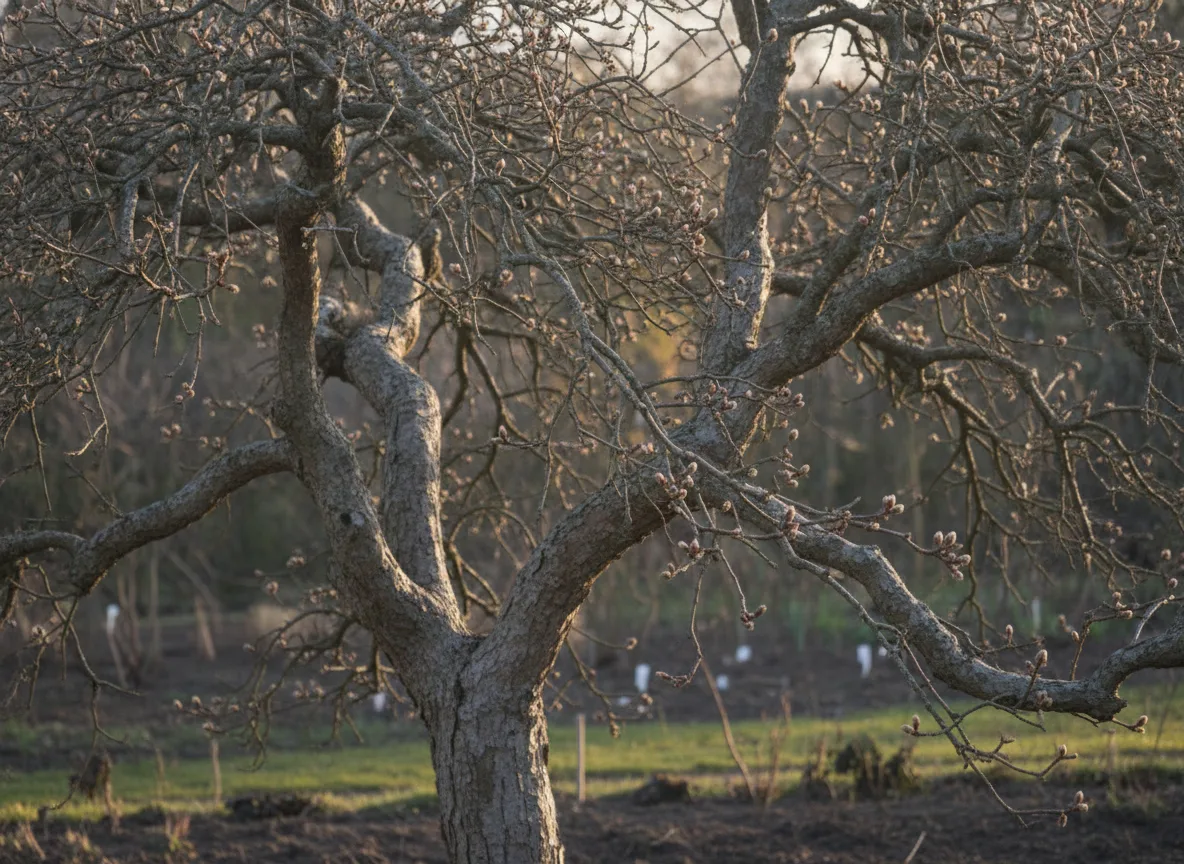 An old medlar tree with bare branches — AI-generated illustration
The light prune: less is more
The single most important thing to know about pruning a medlar is how little it needs. Once the shape is set, an established tree wants a tidy-up each winter and nothing more. It naturally grows into a broad, crooked, slightly weeping crown, and that gnarled look is a large part of its charm. Don’t fight it.
Medlars flower on short shoots that grow in spring from the tips of last year’s wood and from older spurs. Each produces a single large white flower at the end, and each flower becomes one fruit. Go over the whole tree shortening every shoot, as you might an apple, and you cut away most of next year’s crop. The same principle applies to the medlar’s close relative, the quince, where you thin the crown but spare the tips.
Step by step on an established tree
- Dead, damaged and diseased wood. Cut it back to healthy tissue. Shoots with blackened tips and withered leaves still attached can point to fireblight, which medlars can catch; cut those well below the damage and clean your blades between cuts.
- Crossing and rubbing branches. Where two branches chafe, remove the weaker or worse-placed one entirely, back to its point of origin.
- Open up the middle a little. Remove one or two branches that grow straight into the centre. Light and air on the fruit mean less brown rot and less medlar leaf blotch next summer.
- Lift drooping branches. The weeping habit can bring branches down to the lawn. Cut a low branch back to a younger side shoot that points outwards and slightly up, rather than stubbing it.
- Thin congested spurs on old trees. Older medlars build up crowded clusters of spurs. Take out the oldest, weakest ones so the rest get more light.
- Leave the remaining shoot tips alone. If one shoot is wildly out of line, shorten that one to an outward-facing bud. Don’t do it to the whole tree.
Make every cut just outside the slight swelling where a branch joins a bigger one, never flush with the trunk. The tree can only seal the wound properly if you cut outside the branch collar.
How much? No more than about a fifth of the crown in one winter. Hard pruning answers with a crop of strong upright water shoots that don’t flower, and you’ll only be cutting those out again.
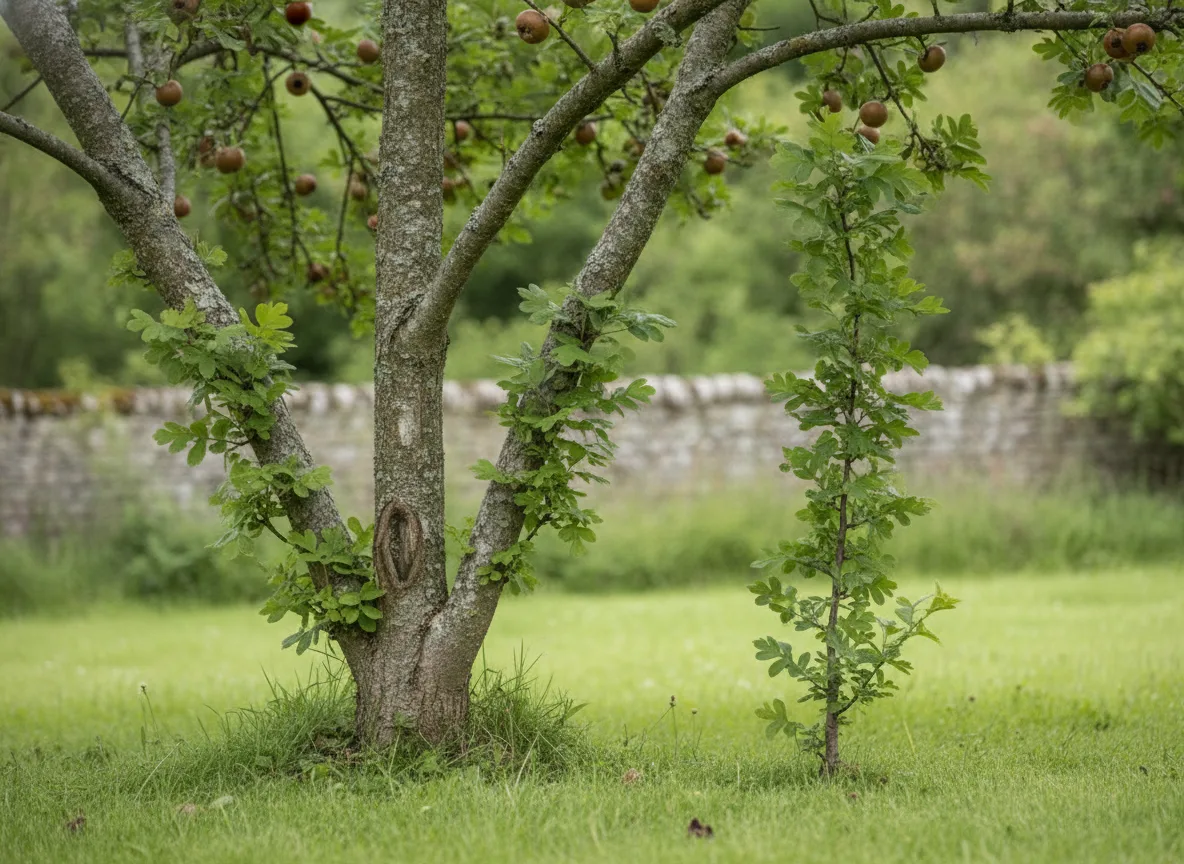 A medlar tree with suckers growing from its base and rootstock — AI-generated illustration
Watch the base: rootstock suckers
Here’s the job most medlar owners miss. Almost all medlars are grafted onto another rootstock, usually quince, hawthorn or pear. Those rootstocks like to send up their own shoots, either from below the graft on the trunk or from the roots a little way out in the grass.
Leave them, and over a few years they take water and energy away from the medlar, or even outgrow it. A hawthorn sucker is easy to spot: thorns and small, deeply lobed leaves, nothing like the medlar’s long, soft, oval leaves.
- Remove suckers whenever you see them, not just in winter. Summer is actually easier, because you can tell the leaves apart.
- Pull or tear them off at the source if you can, scraping back a little soil to reach where they join the root. A clean tear removes the dormant buds at the base that a cut would leave behind.
- Cut flush only when you can’t tear, and expect to come back to that spot.
A young medlar: build the frame first
A newly planted medlar needs a few winters of formative pruning before you switch to the light routine above. Most are grown as a half-standard or bush with an open centre.
In the first two or three winters, choose three to five well-spaced branches to form the framework and shorten each by roughly a third to an outward-facing bud. That makes them branch and thicken up. Remove anything that crowds or crosses those main limbs. Once the framework is there, usually after year three or four, stop shortening and let the tree fruit.
Mistakes to avoid
- Waiting for soft fruit on the tree. In our climate, the medlars you leave hanging for “a bit more ripening” are usually the ones you lose to rot and birds.
- Giving it an apple-style prune. Shortening every shoot removes the flowering tips.
- Trying to straighten it. You can lift a branch that’s in the way, but the twisted shape is the tree. Cutting against it just creates a tangle of water shoots.
- Ignoring the suckers. They’re the most common reason an older medlar slowly fades or turns into a hawthorn.
Not sure whether your tree is ready, or when the next job falls? Add your medlar to Cresco and it will remind you when it’s time to pick and when the winter prune is due.