Why November is when this matters
Once the leaves are down, the bare structure of a tree is easy to read. You can see the branch rubbing on another, the limb hanging over the shed, the low bough you walk into every time you mow. From now until late winter, most deciduous trees are dormant. That makes it the natural time to take a branch off apples, pears, birch, hornbeam, rowan, lime and most other garden trees.
The question most people get wrong isn’t when. It’s where. Where exactly does the saw go? Too close and you damage the trunk. Too far and you leave a stub that dies back. The answer is a small, easily missed feature at the base of every branch: the branch collar.
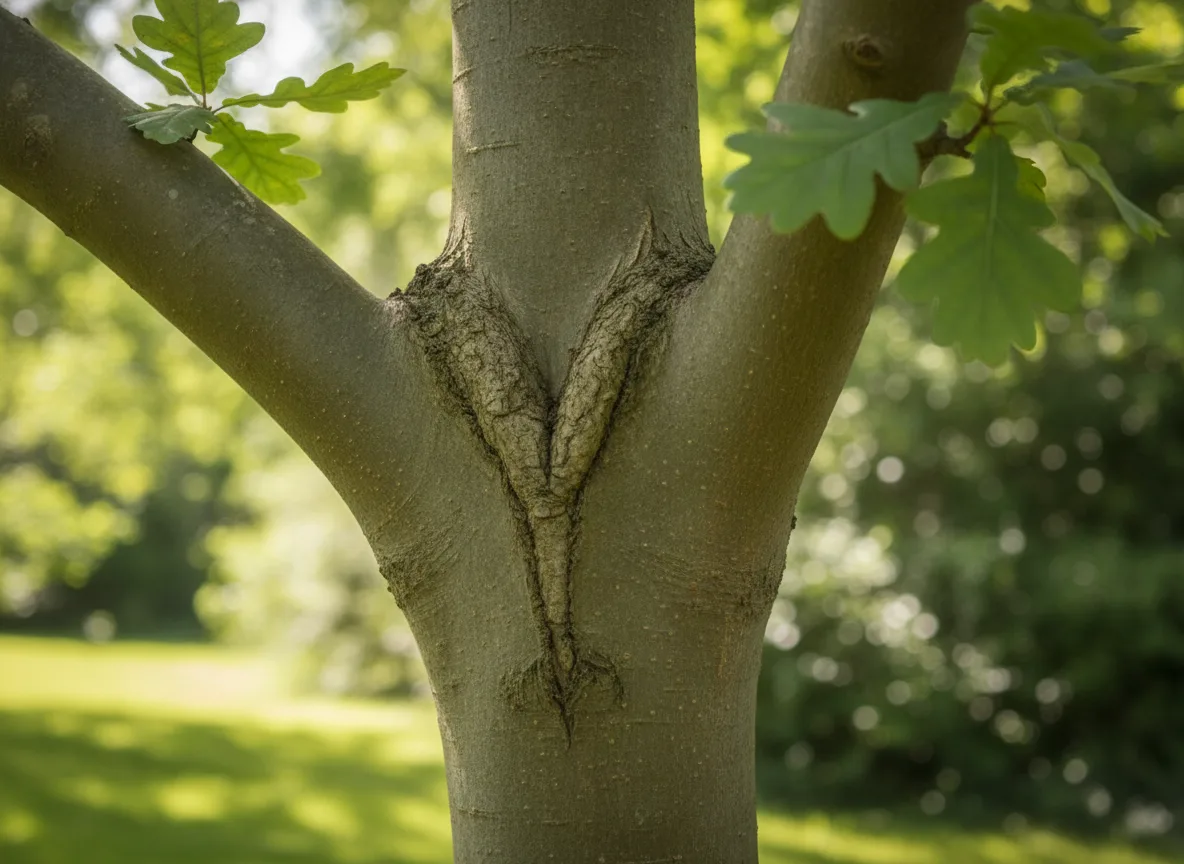 Two branches forking from a young trunk, with raised bark ridges where they join — AI-generated illustration
What the branch collar is
Look at where a branch joins the trunk. On most trees there’s a slight swelling, a ring or shoulder of thicker bark wrapped around the base of the branch. That’s the collar. It’s tissue from the trunk, growing around the branch, rather than part of the branch itself.
Just above it, in the angle between branch and trunk, there’s usually a raised ridge of rough bark running down both sides. That’s the branch bark ridge. Together, the ridge and the collar mark the boundary between “trunk” and “branch”.
That boundary isn’t just visual. Inside the collar, the tree keeps a chemical defence zone. When a branch dies or is cut off, the tree seals that zone off, walling in the wound so that decay in the old branch can’t spread into the trunk. Arborists call this compartmentalisation. Trees don’t heal the way skin does. They wall off damage and grow new wood over it.
So the collar is the tree’s own firebreak. Your job is to cut so that it stays whole.
The flush cut: the old advice that rots trees
For a long time, gardeners were told to cut branches off flush with the trunk, so it looked neat and smooth. Many older books still show it. It’s the single most damaging pruning cut you can make on a tree.
A flush cut slices straight through the collar. It removes the defence zone, makes the wound much bigger than the branch was, and opens fresh trunk wood directly to fungi. Instead of sealing a small round wound, the tree is left with a long oval scar running up and down the trunk. Decay often gets in before new wood can close over it. A few years later you find a soft, hollow patch, or a cavity where the branch used to be.
The opposite mistake is the long stub. Leave 10–15 cm of bare branch beyond the collar and there are no leaves or buds on it to keep it alive. It dies back, rots, and the new wood can’t roll over it because the dead stub sits in the way. Stubs are how fungi get a foothold without anyone noticing.
The right cut sits between those two: just outside the collar, not into it, and not beyond it.
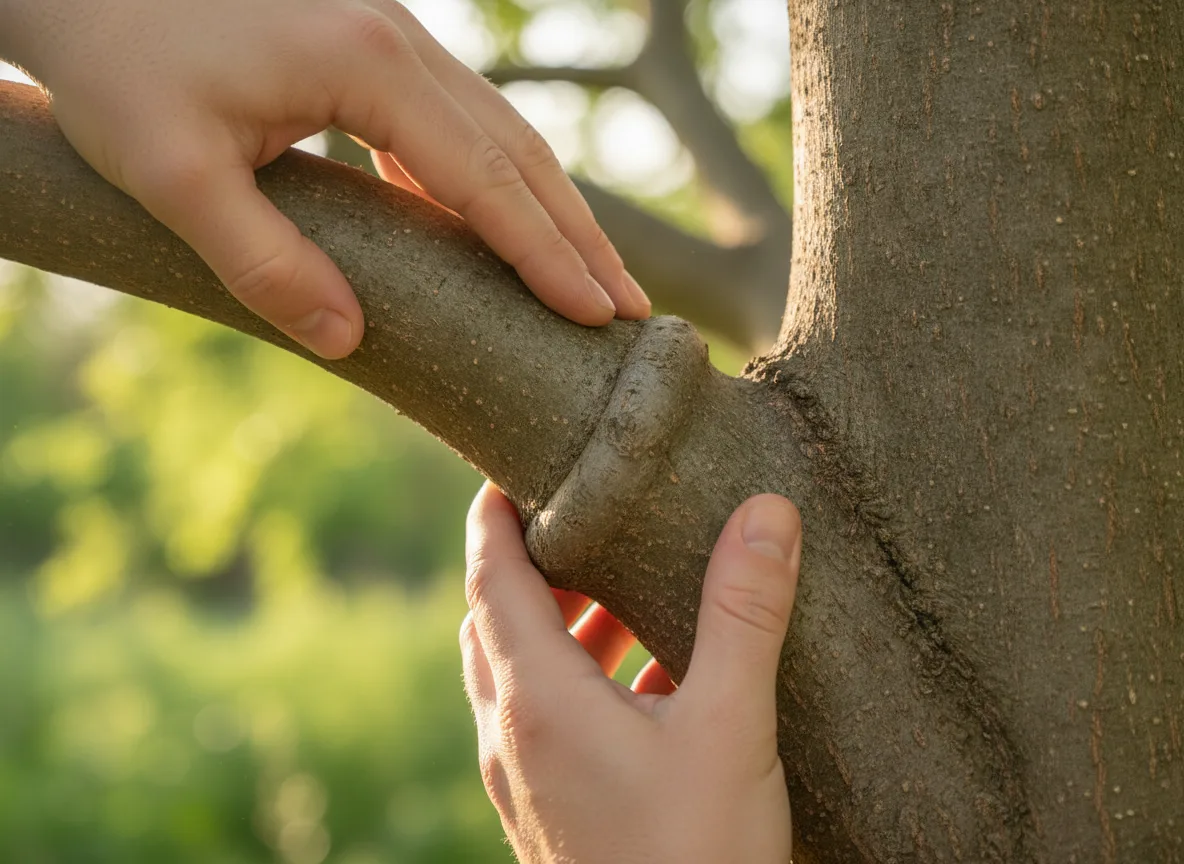 Hands feeling for the swollen collar where a branch meets the trunk — AI-generated illustration
How to find the collar on your tree
On most trees it’s obvious once you know to look. On some it’s subtle. A few pointers:
- Look for the swelling. Run your hand down the branch towards the trunk. Where the bark thickens and flares out, that’s the collar’s outer edge. Your cut goes just beyond it, on the branch side.
- Use the bark ridge as your top mark. Start the cut just outside the ridge and angle it slightly away from the trunk, down and outwards, so it finishes just outside the collar underneath. Never cut parallel to the trunk.
- No visible collar? On some smooth-barked trees, and on fast-growing young branches, you can’t really see one. Picture a line from the outside of the bark ridge down to the point underneath where the branch meets the trunk. Cut along a line that mirrors the angle of the ridge, leaving a slight shoulder rather than going flush.
- Dead branch? The tree has usually grown a collar of living wood around the dead base. Cut just outside that living collar, and don’t damage it. It’s already doing the sealing for you.
The three-cut method for anything heavier than your wrist
The collar cut only works if the bark stays intact. Try to take a heavy branch off in one go and its weight will snap it partway through. A strip of bark then tears down the trunk below the cut, which is a far worse wound than the one you meant to make.
For any branch thicker than about 5 cm, or long enough to have real weight, use three cuts:
- The undercut. About 30 cm out from the trunk, saw upwards from underneath, a third of the way through the branch. This stops the bark tearing back towards the trunk when the branch drops.
- The relief cut. A few centimetres further out than the undercut, saw down from the top until the branch breaks off. It snaps between the two cuts, and the tear stops at the undercut.
- The final cut. You’re left with a short, light stub. Now make the real cut, just outside the collar, supporting the stub with your free hand for the last few strokes so it doesn’t peel away at the end.
It’s the same technique I described for pollarding an overgrown willow, and it’s worth doing even on branches that feel manageable. A pruning saw with a curved blade is the right tool here. Loppers crush rather than cut on anything thicker than a thumb, and a crushed collar can’t seal properly.
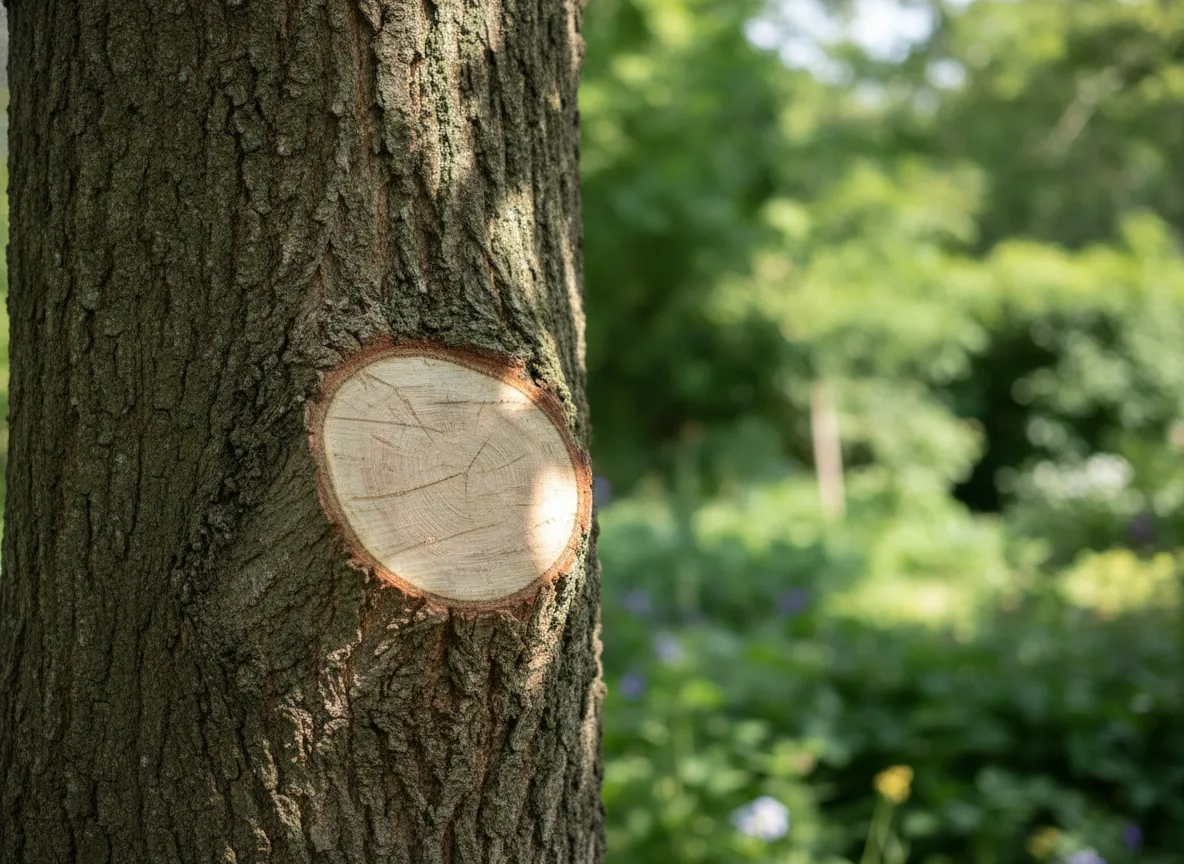 A clean, unpainted pruning cut on a tree trunk, ringed by new bark — AI-generated illustration
Don’t paint the wound
Wound paint, pruning sealant and bitumen dressings used to be sold for every cut. Research since the 1970s has shown they don’t stop decay, and often make it worse. A sealant can crack, trap moisture against the wood underneath, and create exactly the damp, airless conditions that rot fungi like. The tree’s own response, sealing off from inside the collar, works better when it’s left alone.
A clean cut in the right place is the treatment. Leave it open to the air.
The one common exception isn’t about rot but about timing. Some trees are best cut at a particular time of year to avoid disease or sap loss, rather than being dressed afterwards. Cherries and plums, for example, should be cut in summer to avoid silver leaf; see when to prune plums and cherries. And birch and maple bleed heavily if cut late in winter, which is why birch is best pruned in autumn.
Which branches to take off this winter
With the technique sorted, here’s what’s worth removing while the tree is bare:
- The three Ds: dead, diseased and damaged. These can come off at any time of year, and should. A dead branch is a fungus nursery and will eventually fall.
- Crossing and rubbing branches. Where two branches rub, both lose bark. Keep the better-placed one and take the other off at its collar.
- Branches growing back into the centre of the tree, which crowd the crown and cut off light and air.
- Narrow, V-shaped forks. Two stems of similar thickness growing tightly together trap bark between them and can split apart in a storm. On a young tree, remove one while it’s still small.
- Low branches over paths and lawns. Take them off back to the trunk rather than shortening them, or they’ll regrow as a cluster of shoots.
Don’t overdo it. Removing more than about a quarter of a mature tree’s crown in one winter leaves it short of energy and often triggers a flush of weak, upright water shoots next summer. If a tree needs more than that, spread the work over two or three winters. On fruit trees the same rule applies; winter pruning of apples and pears has its own spur-and-shoot logic on top of this.
When to call a tree surgeon
Collar cuts work the same way on big limbs as on small ones, but the risks don’t. Bring in a qualified arborist if:
- the branch is thicker than about 15 cm, or you’d need to work from a ladder with a saw above shoulder height;
- the branch could fall onto a roof, fence, road or power line;
- the tree has a preservation order or stands in a conservation area, where you need consent first;
- you see fungal brackets, deep cracks or a hollow at the base of the branch.
And never use a chainsaw from a ladder.
Quick summary
- Cut just outside the branch collar, the swollen ring where branch meets trunk.
- Never flush, never a stub. Flush cuts open the trunk to rot; stubs die back and rot too.
- Angle the cut away from the trunk, starting just outside the bark ridge.
- Use three cuts on anything heavier than your wrist so the bark doesn’t tear.
- Don’t paint the wound. A clean cut in the right place seals itself.
- November to February is the main window for most deciduous trees, but check the exceptions (cherries, plums, birch, maple) first.
Not sure when your particular tree should be cut? Add it to your garden in Cresco and you’ll get a reminder in the right window, along with the cut that suits it.