Why winter is when you shape a pleached screen
A row of pleached trees is basically a hedge up on stilts: clear trunks to about 1.8 m, then a flat panel of branches trained along wires or a bamboo frame. Most owners know it gets a trim in summer. Fewer know the summer trim is only the tidy-up. The cut that actually builds the screen happens now, between leaf fall and the end of February.
The reason is simple: you can see what you’re doing. In August, a pleached lime or hornbeam is a solid green block, and the shears just follow the surface. In November the leaves are gone (hornbeam and beech hang on to some brown ones, but you can still see through them), and every branch is on show. You can see which shoots are growing along the frame, which ones are sticking straight out towards the path or the neighbours, where there’s a gap, and where three shoots are crossing in one spot.
Dormant wood also takes the cut well. The tree isn’t pushing sap or new leaves, the cuts sit through winter, and the buds you cut to break cleanly in spring. The RHS gives the same timing for the formative and structural work on trained trees like this: late autumn to late winter, with the summer trim kept for keeping the outline neat.
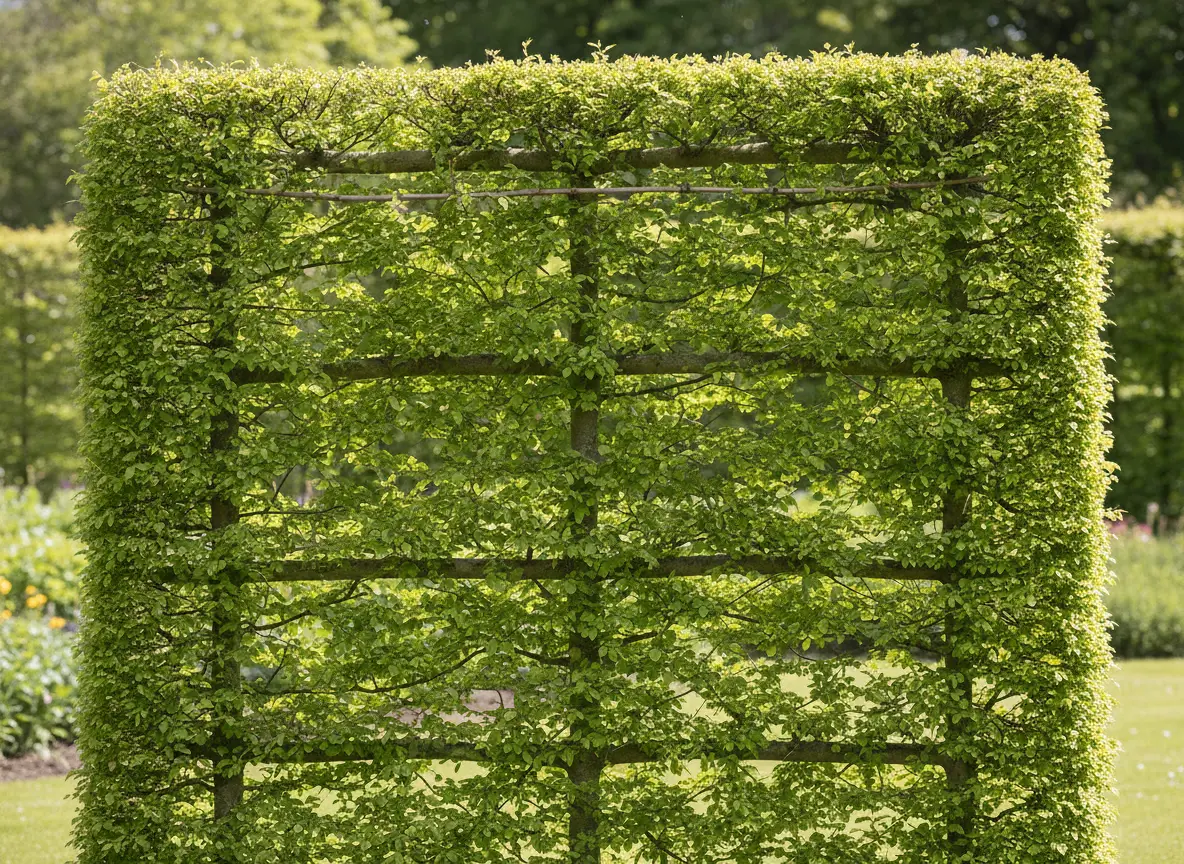 A pleached tree screen with young shoots growing along the plane of the frame — AI-generated illustration
The two kinds of shoot you’re looking at
Stand square in front of the screen and every new shoot falls into one of two groups.
Shoots growing in the plane of the frame. They run sideways along a tier, or upwards from the top tier, flat against the face of the screen. These are your building material. They fill gaps, stretch the tiers towards the next tree, and over the years thicken into the permanent branches.
Shoots growing out of the plane. They point forwards at you, or backwards towards whatever’s behind the screen. Every one of them makes the panel thicker and scruffier, and if you leave them they turn into the side branches that slowly change a crisp pleached screen into a row of lollipops on legs.
The winter prune is mostly about sorting these two groups. Tie in the first lot, cut the second.
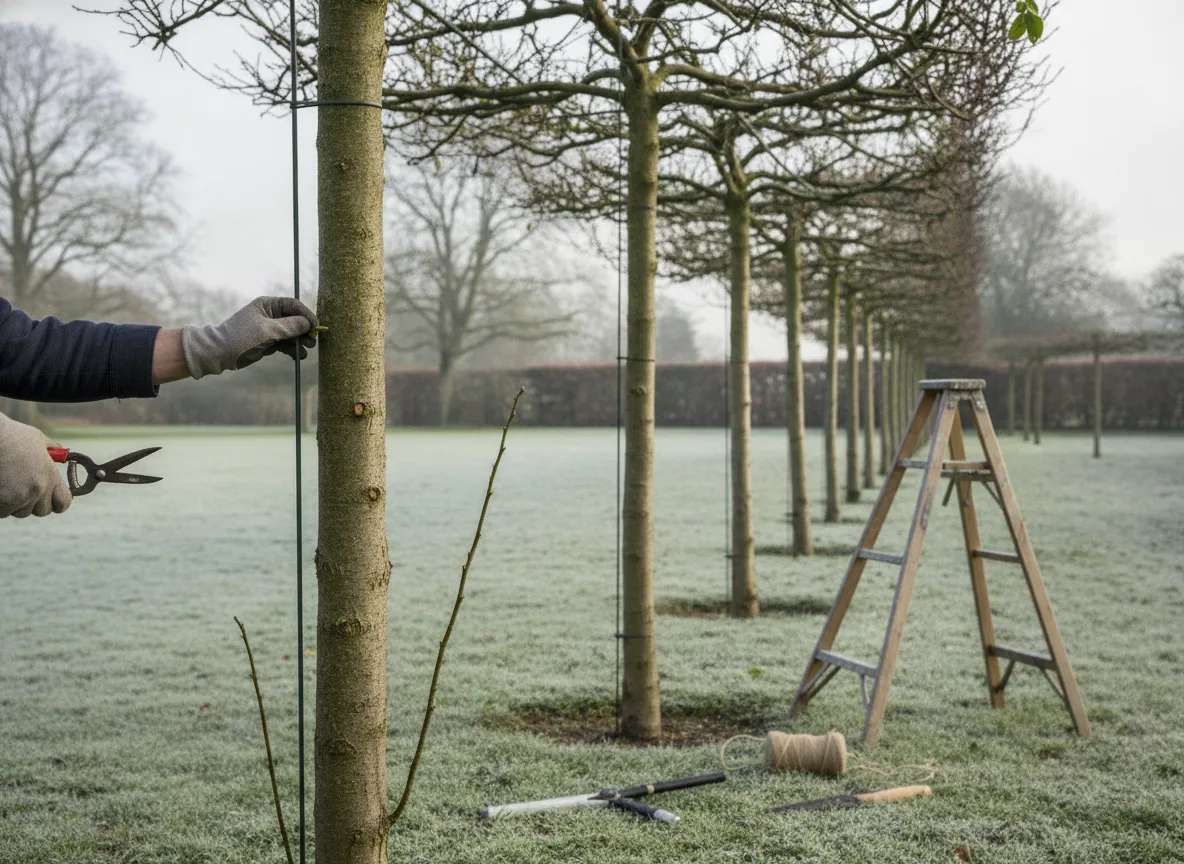 A gardener prunes suckers from the trunk of a pleached tree on a frosty winter day — AI-generated illustration
Step by step: the winter prune
Pick a dry, frost-free day. You’ll want sharp secateurs, a pruning saw for anything thicker than a finger, soft twine, and a stable platform or tripod ladder. A pleached panel usually starts at head height and ends well above it.
- Clear the trunks. Rub or cut off any shoots coming from the clear stem below the first tier, and any suckers at the base. Lime is especially bad for this; it can throw out a whole skirt of shoots from the trunk and the base. Cut them flush, but leave the slight swelling where they join the trunk.
- Cut outward shoots back to the frame. Every shoot pointing forwards or backwards goes back to one or two buds from where it starts. That short stub is what keeps the panel thin. With lime, you’ll find these stubs build up into knobbly “knuckles” over the years, just like a pollard. Cut back to the knuckle each winter rather than into it.
- Tie in sideways shoots that fill a gap. Where a tier hasn’t reached the next tree yet, or there’s a hole in the panel, pick the best-placed shoot heading in the right direction, bend it gently along the wire or cane, and tie it in loosely with a figure-of-eight. Don’t tie it tight or completely flat in one go: shoots that are bent too sharply stop growing at the tip. Ease it down, then lower it a bit more next winter.
- Shorten what you’ve tied in by about a third. Cutting to a bud that points along the line of the tier makes the shoot branch, and that gives you the dense panel you’re after, instead of one long whip with a gap underneath.
- Thin out the crowded spots. Where several shoots cross or rub, keep the best-placed one and cut the rest back to their base. Rubbing bark lets in disease, and a congested knot just shades out its own inner buds.
- Deal with the top. If you want the screen to stay at its current height, cut the upright shoots on the top tier back to one or two buds above the highest wire. If you still want height, tie the best of them in vertically and remove the rest.
Pruning a whole row can take a full day. Go along it once, trunks and outward shoots first, then come back for the tying in. Fixing the frame is easier when the clutter is gone.
Hornbeam, lime, beech: what changes per tree
Most pleached screens in gardens are one of three trees, and they’re pruned in much the same way, with a few differences:
- Lime (Tilia, often Tilia × europaea ‘Pallida’ or the red-twigged lime). The classic pleaching tree. It grows fast and puts on a lot of growth each year, so the winter prune is a big job. Every outward shoot can go back to its knuckle. Lime takes hard cutting very well. It also throws suckers and trunk shoots more than any other, so check the trunks every winter.
- Hornbeam (Carpinus betulus). Slower and denser, and it keeps a lot of its brown leaves through winter, which makes the screen look fuller in January than a lime. You don’t need to remove those dead leaves; they drop when the new ones push through in spring. Prune hornbeam back to the frame now just like lime, and save the shears for the late-summer trim. It’s the same reason a hornbeam hedge trimmed in August holds its leaves over winter.
- Beech (Fagus sylvatica). Prune it like hornbeam. It holds its old leaves too, and it grows more slowly still, so there’s less to cut each winter. Beech doesn’t regrow well from big cuts into old wood, so keep the winter work to this year’s shoots and the occasional crossing branch.
Evergreen pleached trees, such as photinia, holm oak and cherry laurel, are a different story. They aren’t dormant in the same way, and winter cuts on evergreens can be hit by frost. Leave those until late spring and summer.
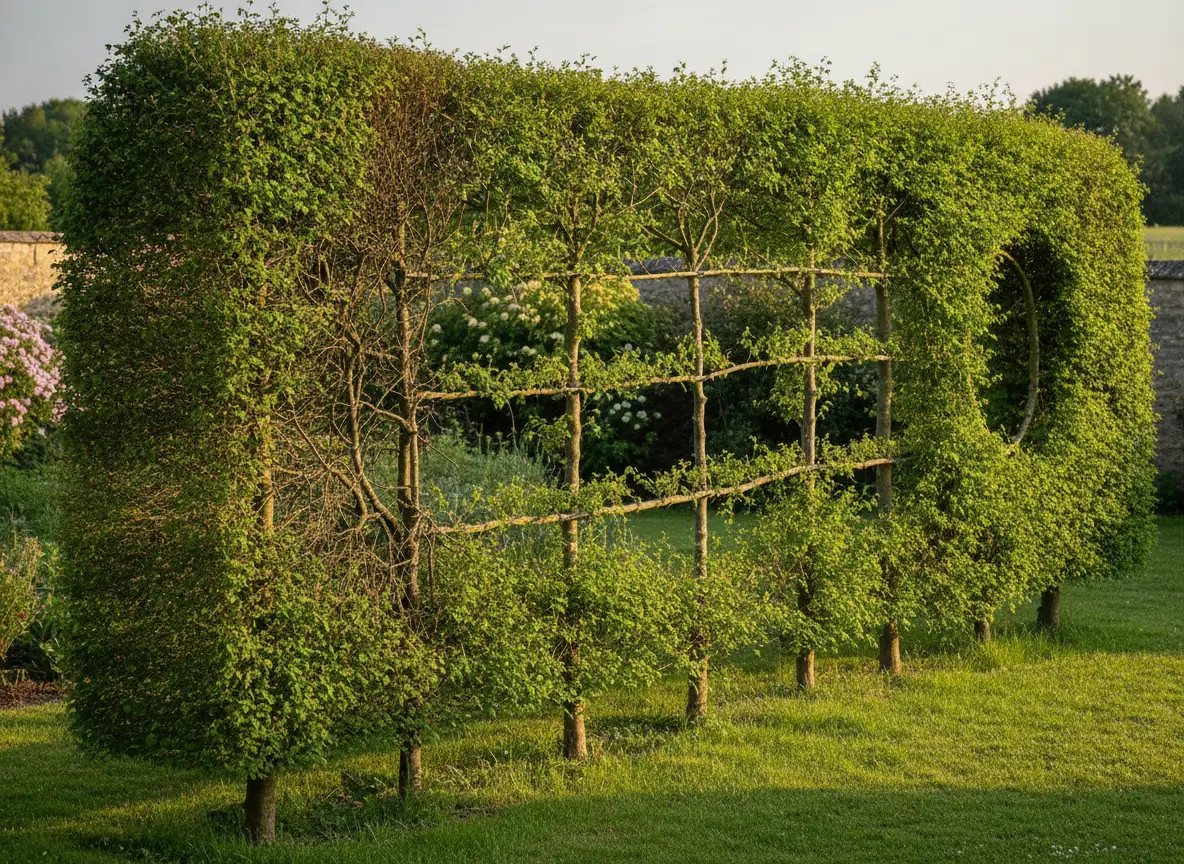 A dense pleached screen with thick outer growth and a bare interior section — AI-generated illustration
Five mistakes that ruin a pleached screen
- Only ever using shears. Shearing the face of the screen every summer, and never doing the winter prune, builds up a thick outer shell of twiggy growth. The panel gets deeper every year, and the inside goes bare and dark. The winter cut back to the frame is what keeps it thin.
- Leaving gaps “for later”. A gap in the tier only fills if you tie a shoot into it. Shoots don’t grow sideways on their own; they grow towards the light, which means forwards. Tie in something every winter.
- Tying too tight. Twine or wire left on for years cuts into the bark as the branch thickens. Check every tie each winter and loosen or replace any that are biting in.
- Cutting into the knuckles. On lime, a big cut into an old knuckle removes all the dormant buds packed into it, and can leave a dead stub that rots. Cut the new shoots back to the knuckle, not the knuckle itself. For bigger branches, the branch-collar rules for removing a tree branch apply here too.
- Ignoring the trunks. Shoots on the clear stems are easiest to rub off when they’re small. Leave them a year and you’re cutting out wood, and the screen loses its clean line of legs.
The year-round rhythm
Pleached trees need two visits a year, and they do different jobs:
- Winter (November–February): the structural prune. Clear the trunks, cut outward shoots back to the frame, tie in shoots to fill gaps, check the ties.
- Late summer (late July–August): a trim with shears or a hedge trimmer to keep the outline sharp. It removes the soft new growth that’s come out since spring, so the screen stays tidy through autumn.
It’s the same logic as other trained trees that you keep cutting back to the same framework, like willow pollards on a regular cycle: the cut you make in winter is what decides the shape of the tree for years to come. If you have a few pleached trees, an espalier and a hedge or two, it’s easy to lose track of which needs what and when. Cresco keeps the winter and summer windows for every plant in your garden, so you get a reminder when it’s time.